Introduction
Terminating SWA (Steel wire armoured Cable) is used for durability and protection against damage and is widely used in industrial and commercial applications. Here is step-by-step guidance for installation and termination.
Understanding SWA Cable
What is SWA cable? How to Terminating SWA Cable? SWA cable is a kind of strength cable with steel wire armoring, presenting mechanical safety. It is typically utilized in industrial settings and out of doors installations in which the cable can be exposed to ability damage.
Components of SWA cable
Inner Conductor: The core, generally fabricated from copper or aluminum, that conducts power.
Insulation: A layer of material surrounding the conductor to prevent electrical leakage.
Bedding: A protecting layer between the insulation and the armoring.
Armoring: Steel wires that provide mechanical safety.
Outer Sheath: The external layer that protects the cable from environmental factors.
Applications of SWA cable
SWA cable is used in diverse programs, which includes:
- Power distribution
- Industrial installations
- Underground and outdoor installations
- Harsh environments where mechanical safety is vital
Tools and Materials Needed
List of critical tools
- Cable cutters
- Stripping tool
- Crimping device
- Bending tool
- Screwdrivers
- Pliers
Recommended substances
- SWA cable
- Cable gland
- Junction container (if required)
- Earthing components
- Insulation tape
Safety gadget
- Gloves
- Safety glasses
- Protective apparel
Safety Precautions
Importance of safety: Terminating SWA cable includes coping with sharp tools and electrical components. Prioritizing safety facilitates save you accidents and accidents.
Personal shielding equipment (PPE): Always put on gloves, protection glasses, and protective clothing whilst running with SWA cable to guard yourself from capacity risks.
Handling SWA cable accurately: Ensure the work location is well-lit and freed from obstacles. Use the proper tools for the activity and observe producer instructions.
Preparation Steps
Inspecting the cable: Before starting, inspect the SWA cable for any symptoms of damage. Ensure it’s miles the proper type and length in your installation.
Measuring the cable duration: Accurately degree the desired period of cable, taking into account any extra length needed for termination.
Marking the cable: Use a marker to indicate where the cable may be reduce and stripped.
Cutting the SWA Cable
Choosing the right reducing device
Select a brilliant cable cutter designed for cutting thru metallic wire armouring.
Step-via-step cutting process
- Place the cable cutter at the marked function.
- Apply even pressure to cut thru the outer sheath and metallic wires.
- Ensure a smooth reduce to avoid detrimental the internal layers.
Ensuring smooth cuts
Clean cuts save you fraying and make sure easier stripping and termination.
Stripping the Outer Sheath
Tools for stripping Use a stripping tool appropriate for SWA cable to cast off the outer sheath with out unfavorable the inner layers.
Technique for doing away with the sheath
- Score the outer sheath with the stripping tool.
- Gently peel again the sheath to show the metallic wires.
- Cut away the sheath, leaving the inner layers intact.
Avoiding damage to inner layers
Be careful now not to reduce too deeply, as this could damage the insulation and conductors inside the cable.
Bending the Armour Wires
Importance of bending the wires: Bending the steel wires again creates a secure connection point for the cable gland.
Tools for bending Use a bending tool or pliers to well bend the wires again.
Step-through-step bending process
- Evenly space the metal wires around the cable.
- Bend every wire lower back in the direction of the outer sheath.
- Ensure all wires are securely bent with out sharp edges.
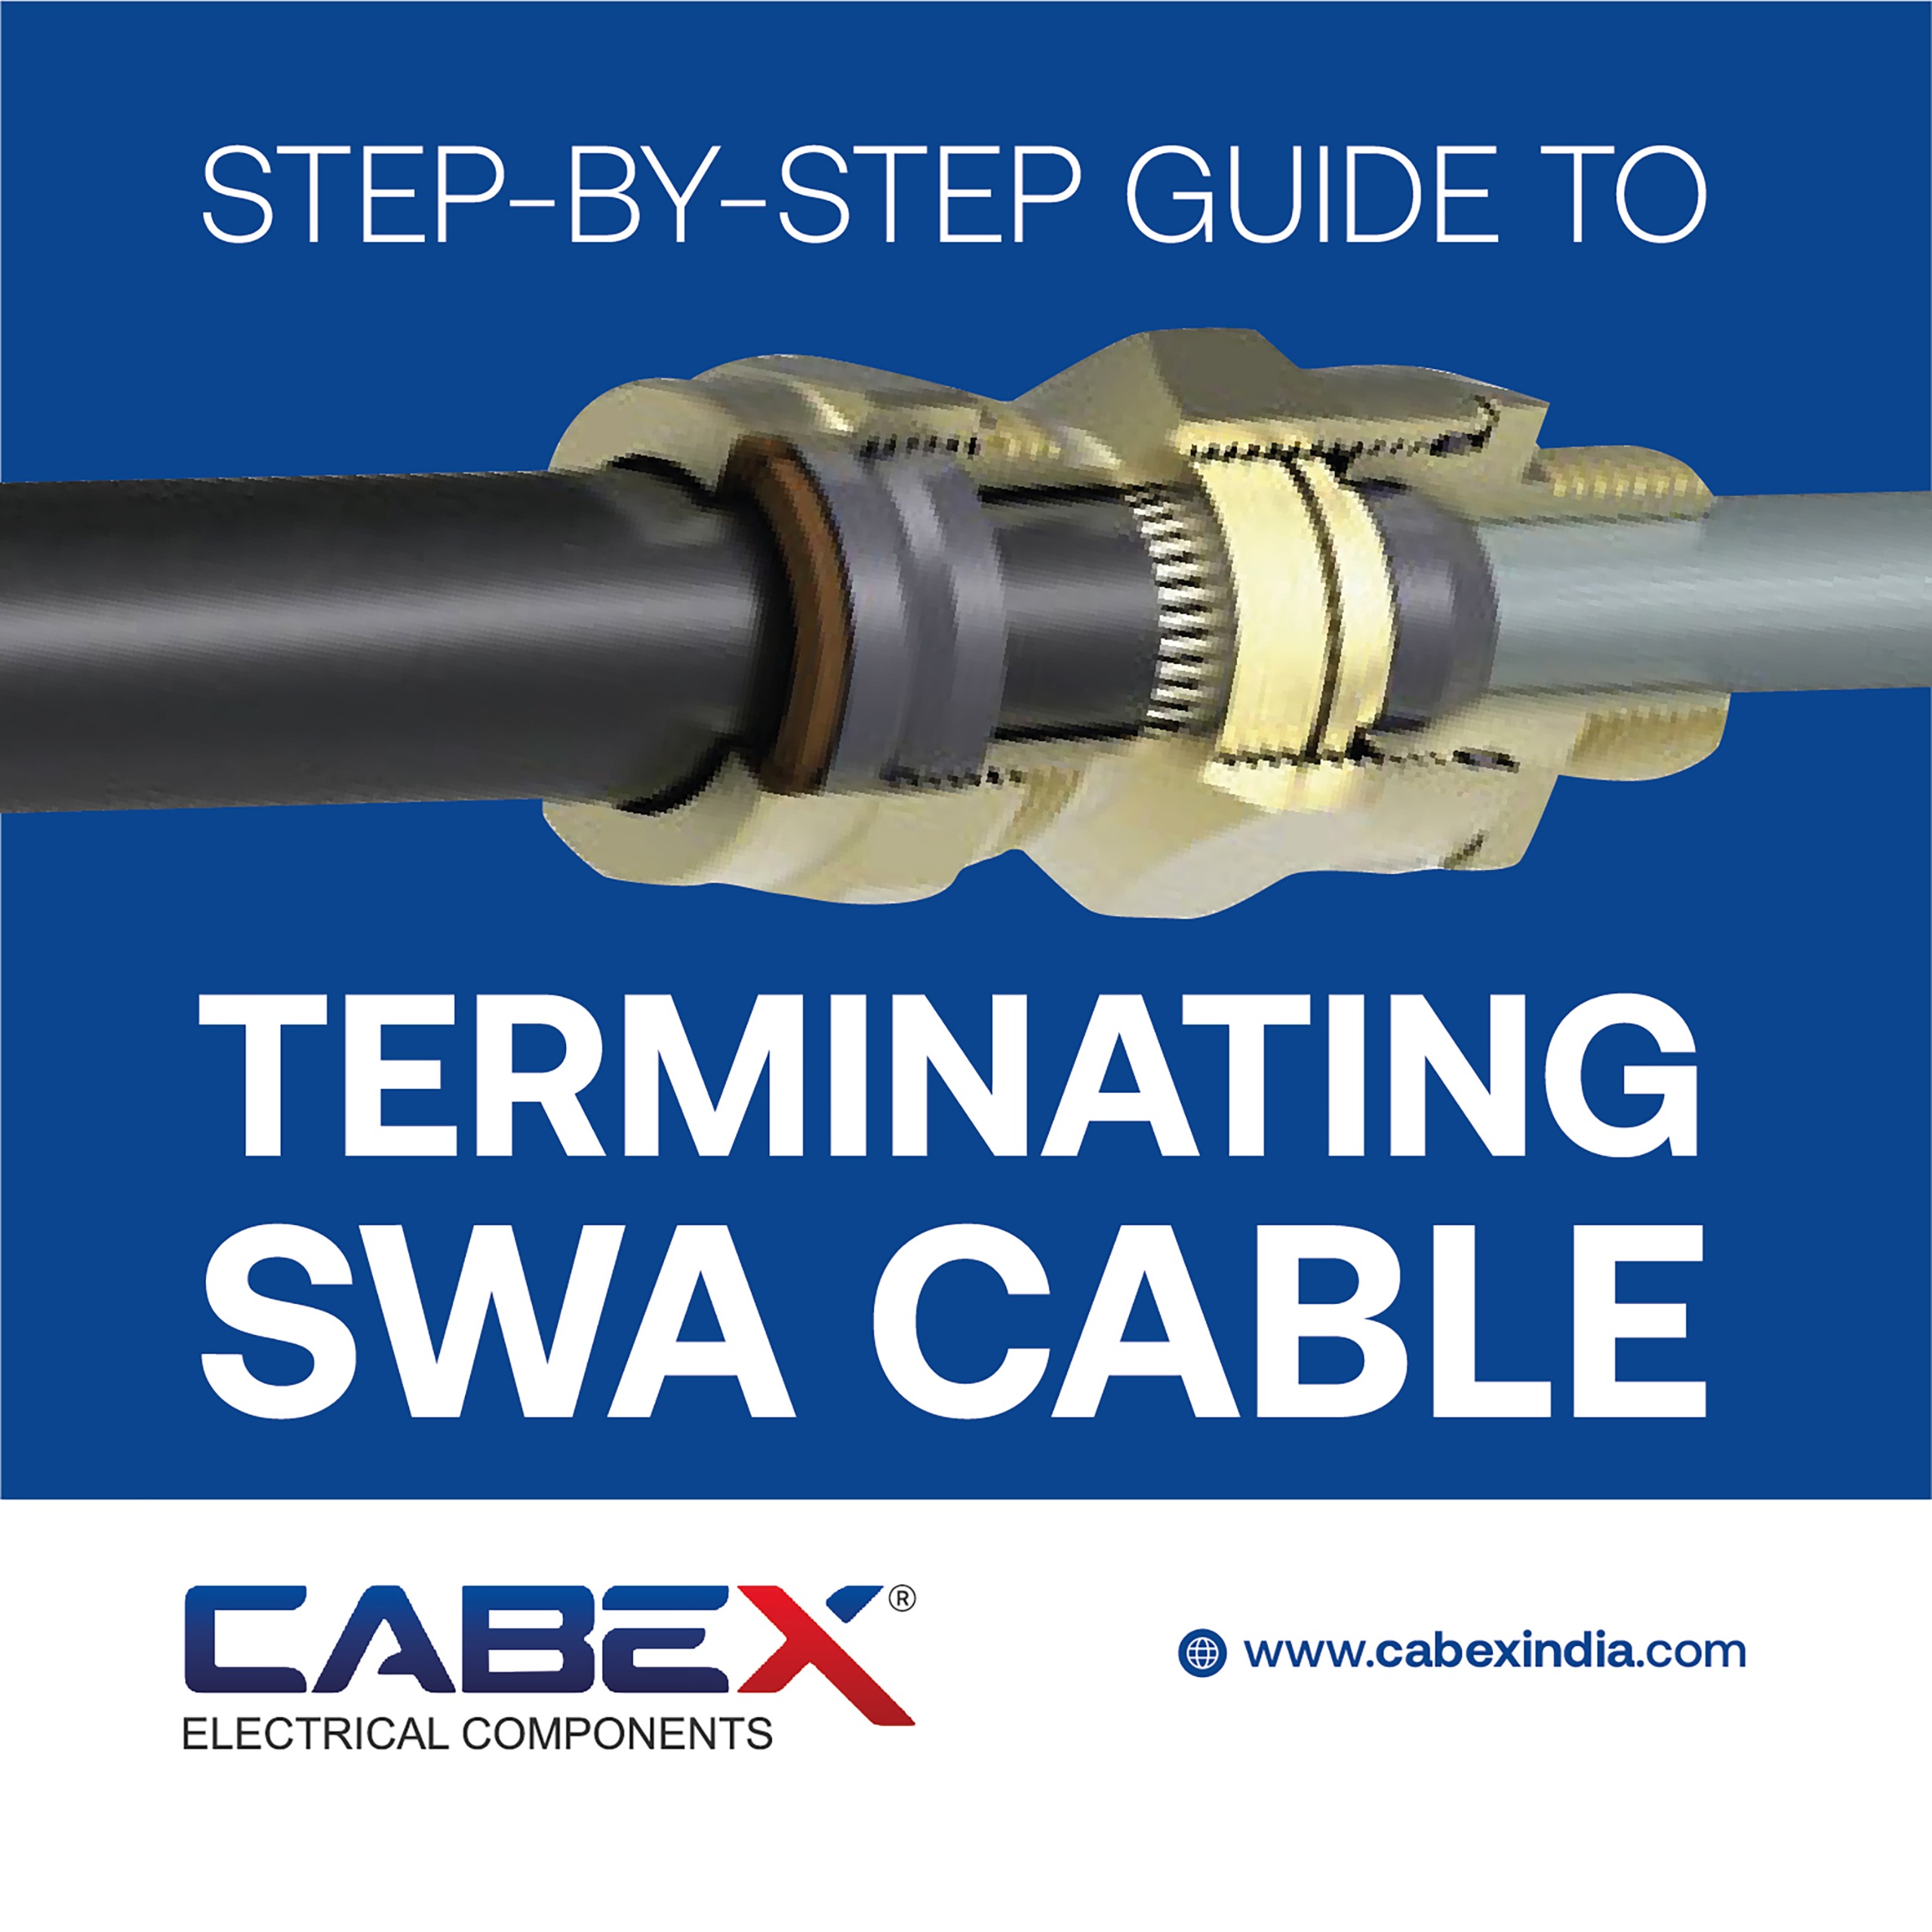
Applying the Gland
Types of glands for SWA cable
Select a gland appropriate for SWA cable, thinking about elements like size and environment.
Selecting the right gland
Ensure the gland fits the cable diameter and affords adequate sealing and mechanical safety.
Installing the gland
- Slide the gland nut onto the cable.
- Position the gland frame over the bent wires.
- Tighten the gland nut to steady the relationship.
Earthing the Cable
Importance of earthing
Proper earthing guarantees electrical protection and stops faults.
Methods of earthing
- Direct earthing using an earthing conductor
- Using the armouring as an earth path
Earthing with SWA cable
- Connect the earthing conductor to the cable gland.
- Ensure a stable and non-stop earthing route.
Preparing the Inner Conductors
Stripping the internal insulation
Use a stripping tool to cautiously cast off the insulation from every conductor.
Identifying the conductors
Label each conductor to make certain correct connections.
Preparing for termination
Ensure the conductors are easy and free from damage.
Terminating the Conductors
Tools for termination
Use a crimping device or screw terminals for secure connections.
Step-through-step termination process
- Insert the conductor into the terminal.
- Use the crimping device to stable the connection.
- Repeat for all conductors.
Ensuring steady connections
Check each connection for tightness and proper touch.
Using a Junction Box
When to apply a junction container
A junction box can be required for complicated installations or multiple connections.
Selecting the right junction box
Choose a container suitable for the surroundings and cable length.
Installing the junction box
- Mount the junction box securely.
- Connect the cables within the container.
- Ensure all connections are well terminated and insulated.
Testing the Connection
Importance of trying out Testing verifies the integrity and safety of the set up.
Tools for trying out
- Multimeter
- Insulation resistance tester
Testing strategies
- Check continuity of conductors.
- Test insulation resistance.
- Verify earthing continuity.
Securing the Cable
Methods for securing
Use clamps, ties, or brackets to stable the cable.
Using clamps and ties
- Position the clamps or ties at regular durations.
- Ensure the cable is held securely without being crushed.
Ensuring balance
Check the cable for motion and adjust the securing points as wanted.
Final Inspection
Checking the set up
Inspect the complete installation to make sure all connections are stable and follow requirements.
Ensuring compliance with requirements
Refer to applicable electric codes and rules to make sure the set up meets protection and performance requirements.
Troubleshooting common troubles
Identify and cope with any issues along with loose connections or damaged insulation.
Maintenance Tips
Regular inspection
Periodically check out the cable and connections for signs and symptoms of wear or damage.
Cleaning the set up
Keep the installation clean and freed from particles to prevent capacity troubles.
Importance of testing
Address any minor damages right away to save you further issues.
Common Mistakes to Avoid
Over-tightening the gland Avoid over-tightening the gland, that can harm the cable.
Incorrect stripping of sheath
Ensure the outer sheath is stripped efficiently to keep away from exposing inner layers to harm.
Poor earthing practices Ensure the cable is nicely earthed to prevent electrical dangers.
Also Read: Ultimate Guide to Electrical Wire Type
Conclusion
Proper termination of SWA cable is critical for ensuring secure and dependable electrical installations. By following this step-through-step manual, you may achieve secure connections and keep the integrity of your electric system. Remember to prioritize safety, use the right gear, and cling to industry standards.
FAQs
What gear do I want to terminate SWA cable? Essential tools include cable cutters, stripping tool, crimping device, bending tool, screwdrivers, and pliers.
How do I ensure a stable connection? Ensure clean cuts, right stripping of insulation, and use of the proper gland and termination gear to obtain a stable connection.
What are not unusual mistakes to keep away from while terminating SWA cable? Common mistakes include over-tightening the gland, incorrect stripping of the sheath, and negative earthing practices.