Introduction
Cable gland installation is an essential process in electrical and communication systems. Cable glands provide secure connections, strain relief, and environmental protection for cables entering equipment or enclosures. This blog post will discuss the cable gland installation procedure in detail, outlining the necessary steps and considerations for a successful installation.
Understanding Cable Glands
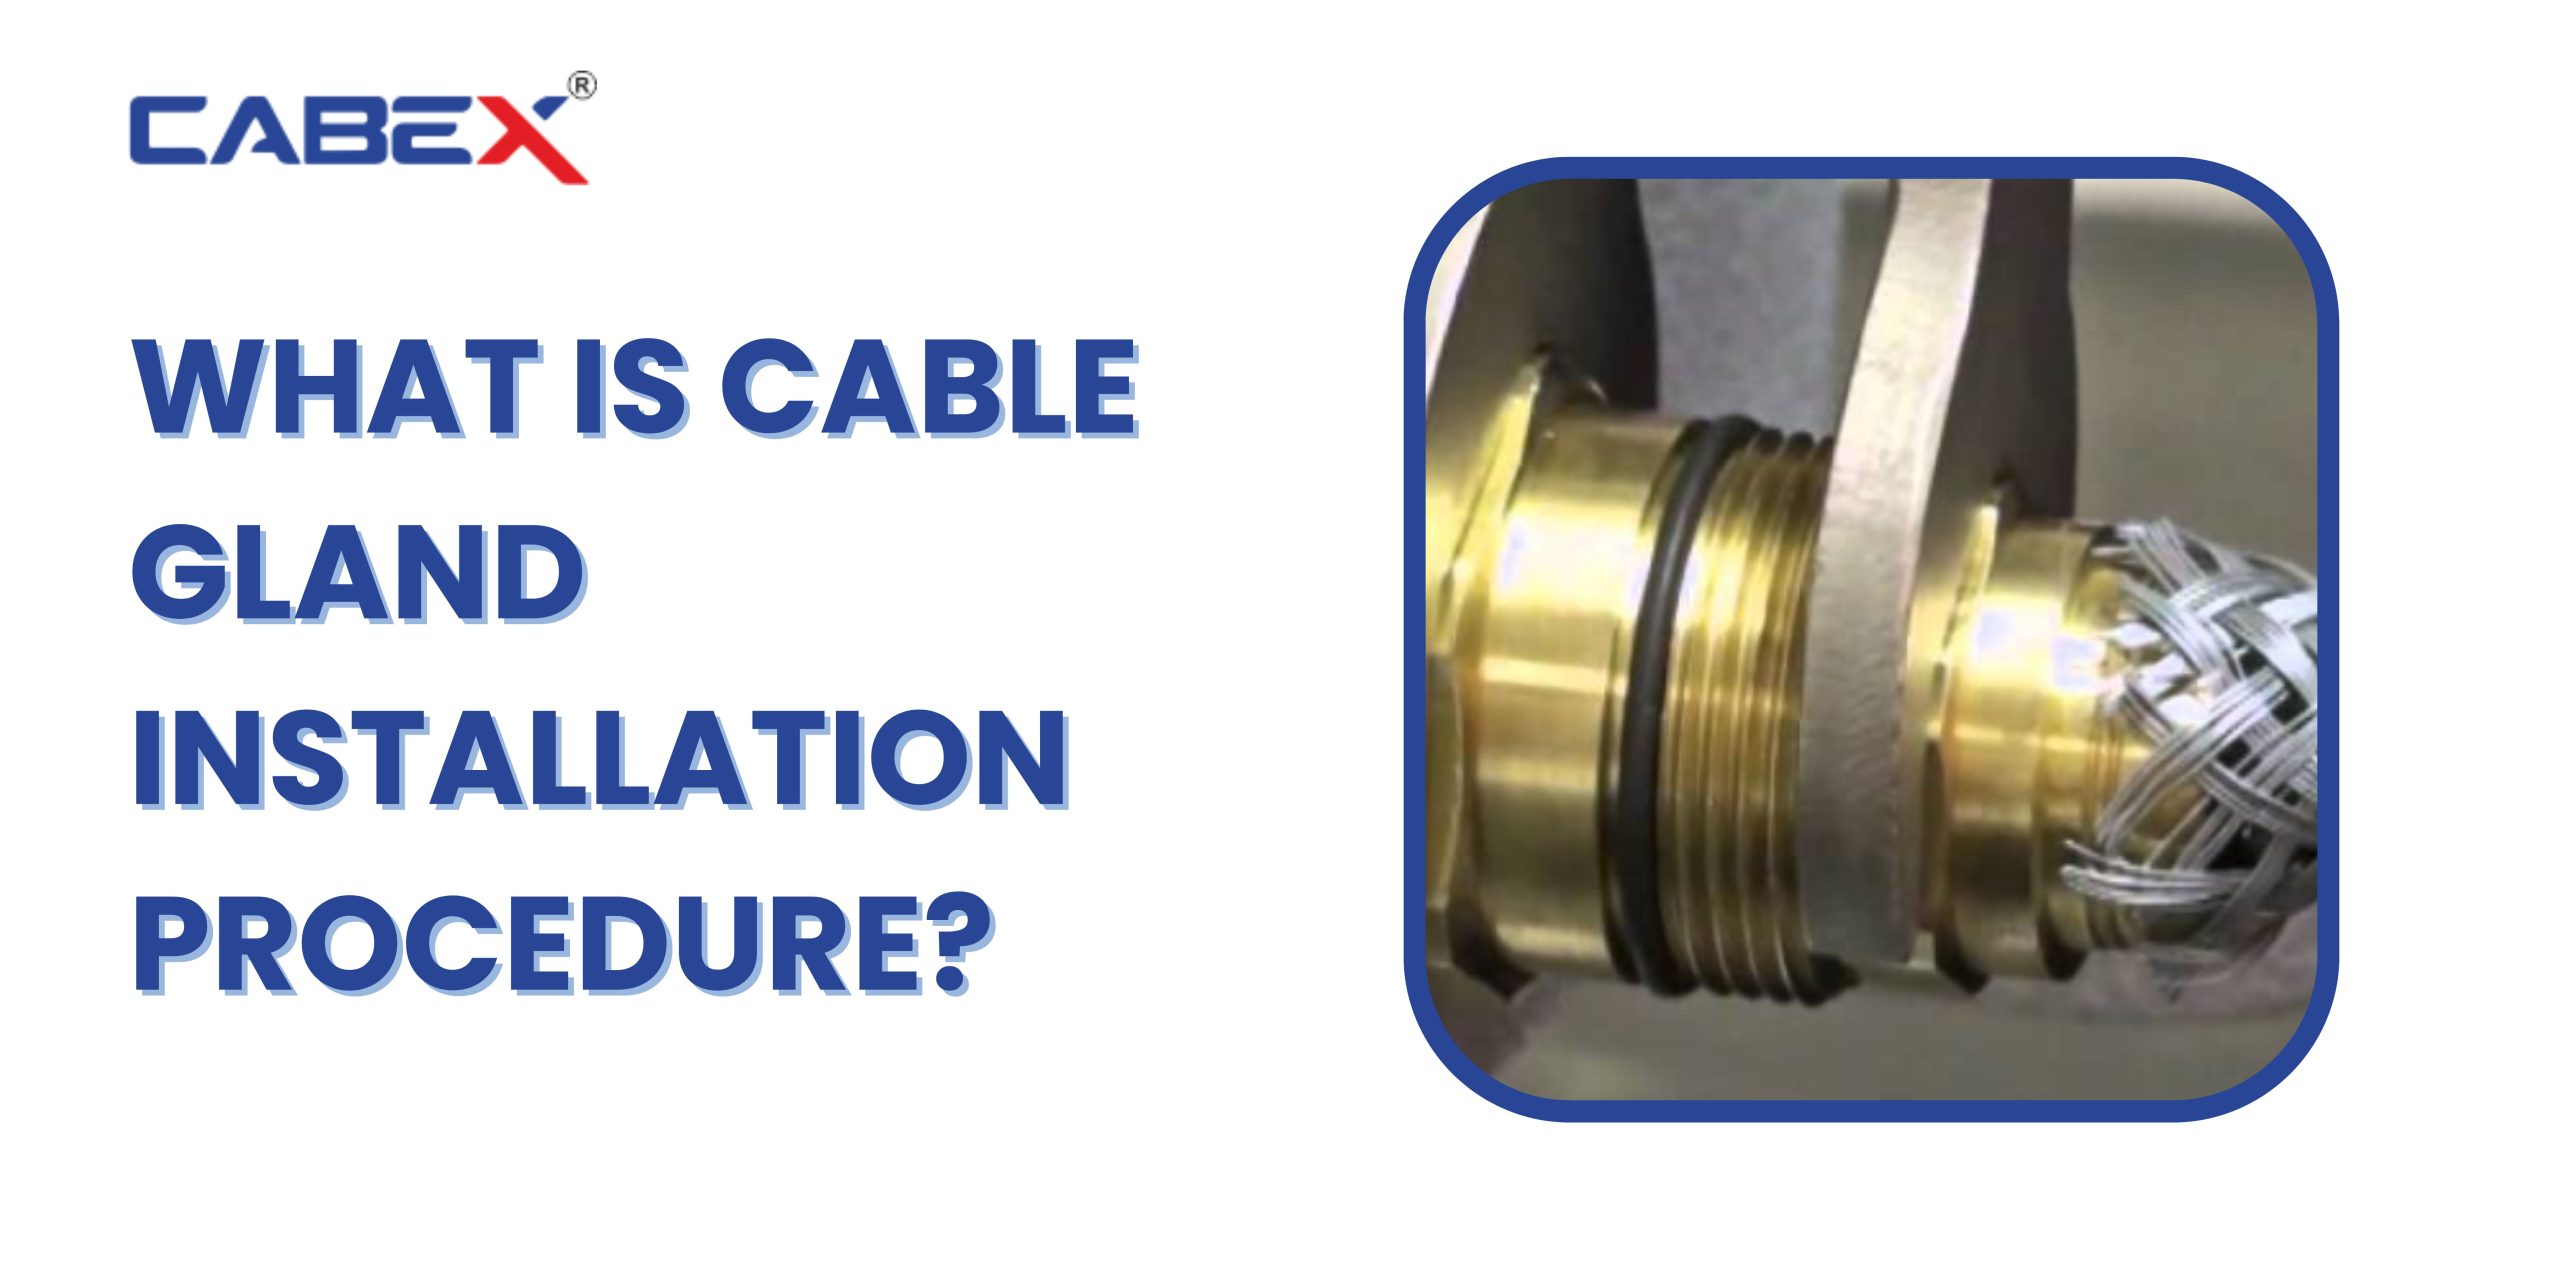
Cable glands, also known as cord grips or cable connectors, are devices used to secure and protect cables where they enter electrical enclosures, junction boxes, or machinery. They serve as a seal between the cable and the enclosure, preventing the ingress of dust, water, and other contaminants. Cable glands also provide strain relief, ensuring that the cable is securely held in place and reducing the risk of damage due to tension or vibration.
Types of Cable Glands
There are various types of cable glands available, each designed for specific applications. Common types include:
- Threaded Cable Glands: These cable glands have a threaded connection that allows them to be screwed onto the equipment or enclosure. They are available in different thread sizes to accommodate various cable diameters.
- Compression Cable Glands: Compression glands use a compression mechanism to secure the cable in place. They provide a tight seal and are commonly used in hazardous or harsh environments.
- Armored Cable Glands: Armored cable glands are specifically designed for use with armored cables. They have a unique design that provides strain relief and maintains the integrity of the cable’s armor.
Cable Gland Installation Procedure
The installation procedure for cable glands can vary depending on the specific type and design. However, the following steps outline a general cable gland installation procedure:
Step 1: Select the appropriate cable gland: Consider the cable type, diameter, and the environment in which it will be installed. Choose a cable gland that matches these requirements.
Step 2: Prepare the cable: Strip the outer sheath of the cable to expose the conductors. Follow the manufacturer’s guidelines for the required length of the stripped section.
Step 3: Insert the cable: Insert the cable through the cable gland, ensuring that it passes through the sealing mechanism.
Step 4: Secure the cable gland: Depending on the type of cable gland, either screw it onto the equipment or enclosure or use the compression mechanism to secure it in place.
Step 5: Tighten the cable gland: Use the appropriate tools to tighten the cable gland securely. Be careful not to overtighten, as this may damage the cable or the gland.
Step 6: Test the installation: Once the cable gland is installed, perform a visual inspection to ensure that the cable is correctly seated and the gland is properly secured. Conduct any necessary tests to verify the integrity of the connection.
Cable Gland Installation Tips
To ensure a successful cable gland installation, consider the following tips:
- Follow manufacturer guidelines: Always refer to the manufacturer’s instructions and recommendations for the specific cable gland being used.
- Choose the right size: Select a cable gland that matches the cable diameter to ensure a proper fit and sealing.
- Consider the environment: Take into account the environmental conditions, such as temperature, moisture, and the presence of hazardous substances, when choosing the appropriate cable gland.
- Proper grounding: Ensure that the cable gland provides a reliable electrical ground connection if required.
- Use appropriate tools: Use the correct tools for tightening the cable gland, such as wrenches or spanners, to avoid damaging the gland or the cable.
Conclusion
Cable gland installation is a crucial process for ensuring the secure and reliable connection of cables in electrical and communication systems. By following the proper procedure and considering the specific requirements of the installation, you can achieve a successful and durable cable gland installation. Remember to choose the right type of cable gland, prepare the cable correctly, and test the installation to ensure its integrity. Proper cable gland installation helps maintain the safety and functionality of your electrical and communication systems.
FAQ:
A. To install a cable gland, first choose the appropriate size for the cable. Remove any outer insulation, thread the cable through the gland, and tighten the locknut to secure it. Ensure proper grounding, and check for tightness and sealing. Consult the manufacturer’s instructions for specific details.
A. The purpose of glanding is to provide a secure and watertight seal for cables as they pass through an enclosure or gland plate. It helps to protect against dust, moisture, and other environmental factors, ensuring the integrity of the cable installation.
A. A cable gland in electrical installations serves the purpose of providing strain relief, sealing, and securing cables to prevent the entry of dust, moisture, or gases. It ensures the safety and integrity of the electrical system by maintaining proper cable management and protection.
A. Cable gland types include various designs and materials used to secure and protect cables where they enter equipment or enclosures. They ensure a tight seal, prevent moisture or dust ingress, and offer strain relief. Common types include armored, non-armored, plastic, metal, and explosion-proof glands.
A. The minimum size of a cable gland depends on the specific application and the cable’s diameter. Cable glands typically come in various sizes, starting from as small as 6mm up to larger sizes for thicker cables.
A. A1 and A2 cable glands are types of cable connectors used in electrical and mechanical applications. A1 glands are designed for indoor use, while A2 glands are suitable for both indoor and outdoor environments. They provide a secure seal and strain relief for cables.


